How to Power Wash Your Home's Brick Exterior
- By Admin
- •
- 14 Apr, 2018
- •
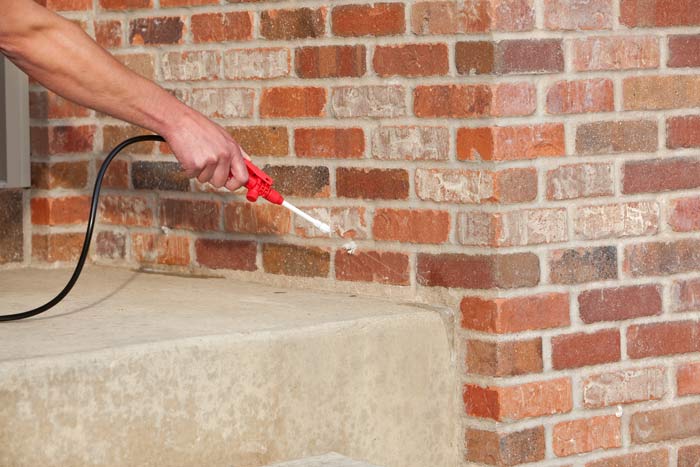
If your home's brick exterior is starting to look dingy or dull, you should consider cleaning it to give it a new lease on life. A dirty brick wall or other structure can ruin the appeal of brick, and even colors can become lost over time.
There are several ways to clean a brick wall, but one of the most effective is to use a power washer and masonry detergent. The high pressure generated by the power washer as well as the chemical application can destroy ingrained dirt or debris.
Below is a step-by-step procedure for cleaning dirty brick using a power washer and detergent.
What You Will Need
Most tools and supplies can be purchased at local hardware and home improvement stores, while power washers can be rented for a day or two if you don't already own one.
- Power Washer with Spray Wand
- Detergent Approved for Pressure Washer Use
- Scrub Brush
- Laundry Bleach
- Mortar Crack Sealant
- Eye Protection
If you are cleaning near landscape plants, you will also need to purchase a plastic drop-cloth used for protecting floors from paint spills.
Step-by-Step Procedure
Once you have assembled your tools and supplies, you are ready to begin the work of cleaning the brick walls of your home. Be sure to put on your eye protection before beginning to work.
1. Spray the Wall to Remove Loose Accumulation
Before you begin your work, you will need to use the power washer set to a lower pounds-per-square inch selection. For this task of removing preliminary material, the goal is to remove dirt and other materials that are relatively loose to prepare the surface for the next round of cleaning.
Begin by spraying the wall with even, long strokes while keeping the path of the spray horizontal. Don't focus on any areas for too long, as you only want to remove the loosest layers of dirt and filth from the brick.
2. Treat and Mold Stains in Advance
Once you have removed the loose dirt, your next task is to clean up any mold stains that are growing on the walls. To do this, apply bleach to the stained area using a long-handled scrub brush. Allow the bleach to sit for at least 24 hours before returning to the project.
3. Apply Deeper Cleaning to the Wall
After you have cleaned the wall of preliminary materials, the next step is to perform a deeper cleaning to wash out any debris that might be stubborn or adhering to the brick wall. Add a small amount of approved power washer detergent to the solutions intake tube.
Once the power washer is ready to go, make slow spray applications over the brick to remove dirt; allow the detergent to foam up and perform its cleansing action, too.
4. Rinse the Detergent from the Wall
After allowing the detergent to soak and cleanse the brick, use the pressure washer with no chemical solutions to rinse the wall clean and clear. Be careful when using the pressure washer, not to overspray or you can do damage to landscapes or even homes.
5. Seal Any Crevices or Cracks
The last step in the process is to repair any damage inside the brick itself. Cracks or crevices expose the interior of the brick to mold and moisture damage and will require attention to prevent a substantial loss.
To fill a crack or crevice, use a pre-made commercial formulation that will stand against moisture problems and also provide a good bond. Follow the manufacturer's directions to ensure the crack is sealed tightly and won't permit water to intrude.
If you have questions about brick cleaning, be sure to contact WhitneyAnderson Building Group for help. Our professionals understand brick cleaning and will provide great service to you.

People who want to open a new restaurant likely struggle to stand out in a crowded field. However, new restaurants can catch the eye of potential customers and draw them into their dining area by focusing heavily on exterior curb appeal. For example, a brick exterior provides many benefits that new restaurant owners need to understand.

Brick is known for its superior durability and strength, but its benefits don't stop there. Brick is also a stylish, timeless and versatile material that can transform your restaurant into a truly unique and enjoyable space. If you're looking for a way to attract new customers and give your existing customers a refreshed experience, brick design offers a variety of options.

